Imagine the delightful crunch of a Frozen Yogurt Dog Bite, bursting with creamy yogurt and rich peanut butter flavors that will have your pup’s tail wagging in pure joy. As you whip up these tasty treats, the tantalizing aroma fills the air, promising a cool and refreshing snack that’s perfect for those sunny days spent frolicking outside.
Every time I pull out these Frozen Yogurt Dog Bites for my furry companion, it’s like celebrating a mini birthday party—his eyes light up with excitement, and I can’t help but chuckle at his enthusiastic antics. These bites are not just snacks; they’re a way to bond with your beloved pet during warm afternoons or as a special surprise after a long walk, creating cherished moments filled with joy and flavor.
Why Is Frozen Yogurt Dog Bites So Irresistibly Good?
Deliciously creamy and packed with flavor, these bites combine plain yogurt, natural peanut butter, and ripe bananas for a treat your dog will adore. Quick to prepare, you can whip up a batch in just 15 minutes! Healthy ingredients mean you’re giving your pup a nutritious snack without any guilt. Versatile and fun, customize them by adding fruits or other dog-safe toppings. Perfect for warm days, these frozen delights will keep your furry friend cool and happy!
Frozen Yogurt Dog Bites Ingredients
- 1 cup plain yogurt (unsweetened and unflavored) – This creamy base gives your dog a nutritious treat full of probiotics.
- 1/4 cup peanut butter (natural and unsweetened) – A tasty flavor boost that dogs adore; ensure it’s free of xylitol for their safety.
- 1/2 banana mashed (ripe) – Adds natural sweetness and potassium, making these Frozen Yogurt Dog Bites even more delightful!
How to Make Frozen Yogurt Dog Bites
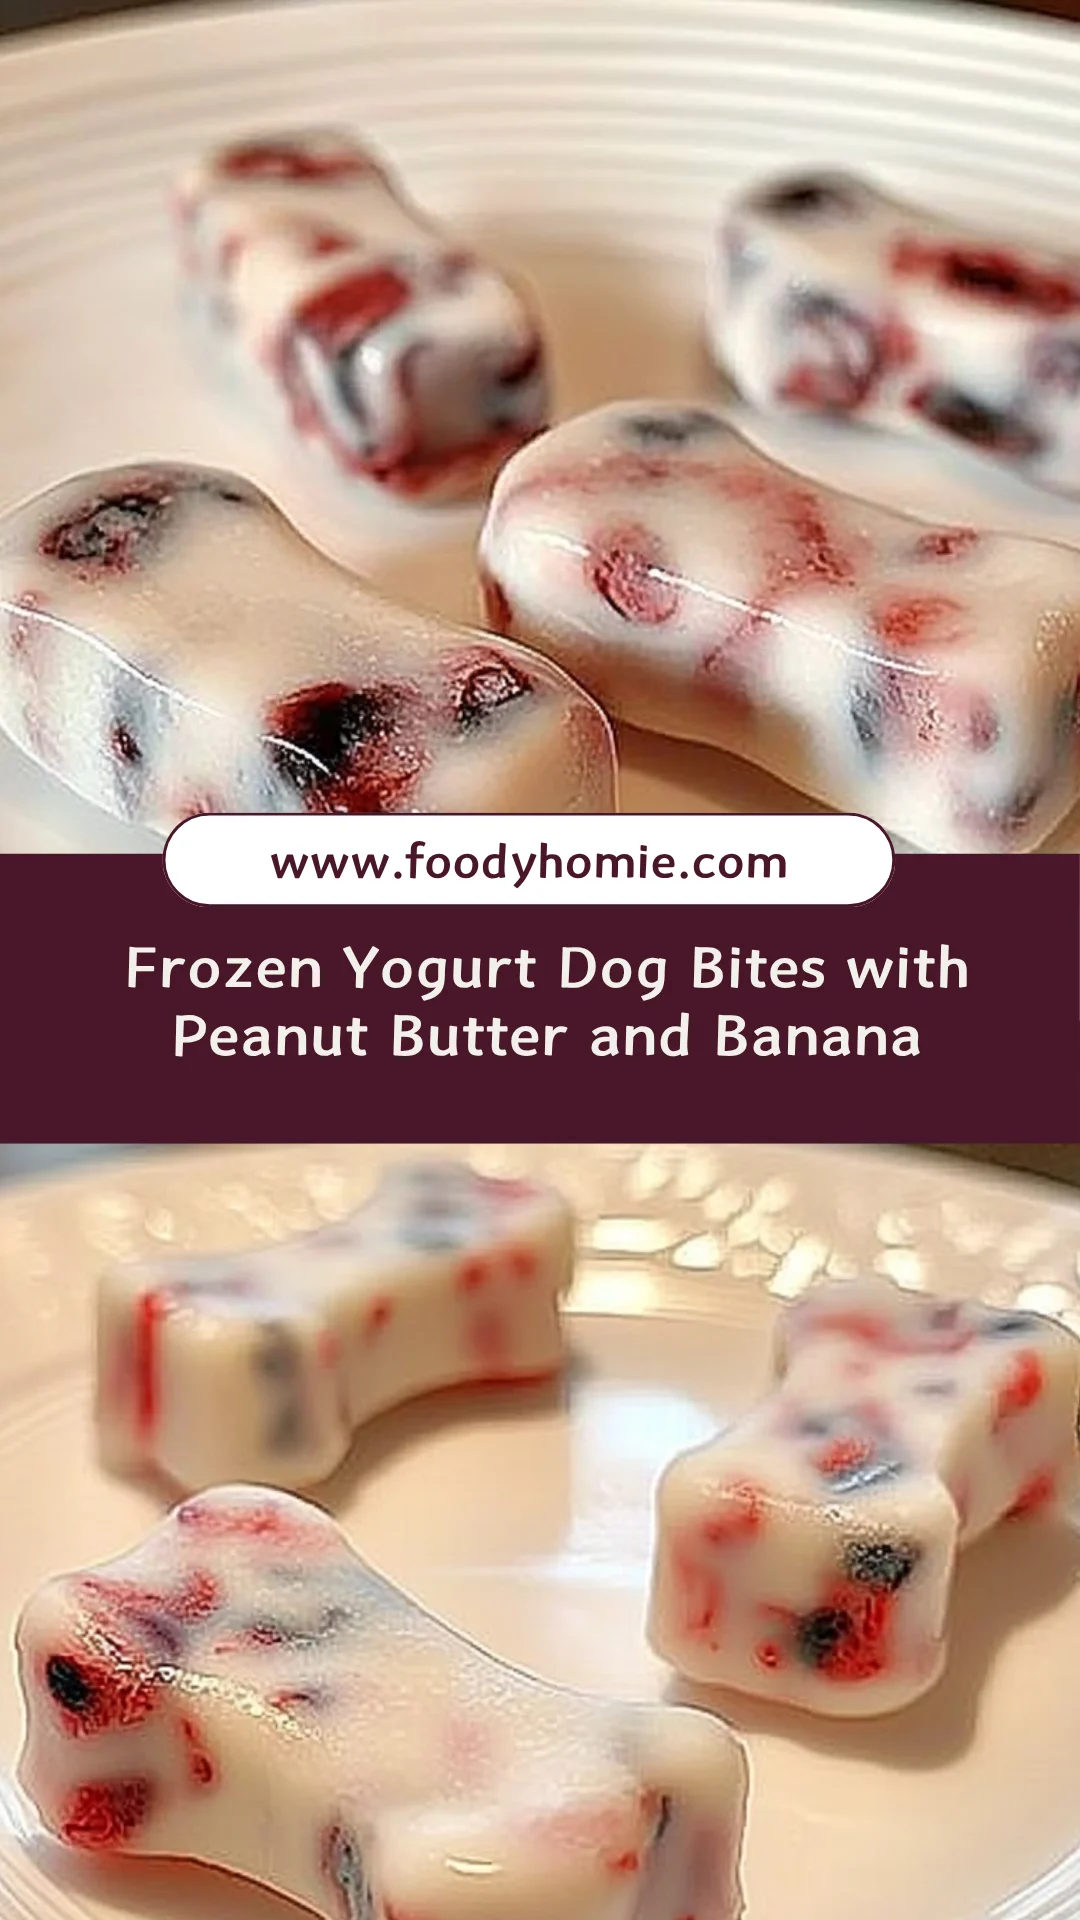
1. Combine ingredients in a mixing bowl. Start by adding 1 cup of plain yogurt, 1/4 cup of natural peanut butter, and 1/2 ripe banana that you’ve mashed. Blend them together until the mixture is smooth and creamy.
2. Spoon the mixture into an ice cube tray. Carefully fill each compartment with your delightful blend, ensuring they are evenly distributed. This will create perfect bite-sized treats for your furry friends!
3. Freeze the tray for at least 4 hours. Allow the yogurt dog bites to chill until they are solid and firm to the touch—this will ensure a refreshing treat for hot days!
4. Pop the bites out of the tray once frozen. Gently remove each frozen yogurt dog bite and store them in an airtight container in your freezer, keeping them fresh for your pup!
Optional: Serve these tasty dog bites as a fun treat on a warm day!
Exact quantities are listed in the recipe card below.
Tips for the Best Frozen Yogurt Dog Bites
- Yogurt Choice: Use plain, unsweetened yogurt to ensure your dog enjoys a healthy treat without added sugars or flavors.
- Peanut Butter Quality: Opt for natural, unsweetened peanut butter to avoid harmful additives. Check for xylitol, which is toxic to dogs.
- Banana Ripeness: Choose a ripe banana for optimal sweetness and creaminess. A brownish peel indicates it’s perfect for mashing.
- Mixing Consistency: Ensure the mixture is smooth before freezing. Lumps can lead to uneven texture in your Frozen Yogurt Dog Bites.
- Freezing Time: Be patient! Freezing for at least 4 hours guarantees solid bites. If they’re too soft, they might not hold together when served.
- Storage Tips: Store in an airtight container to prevent freezer burn and maintain flavor. Enjoy these treats within a month for best results!
How to Store and Freeze Frozen Yogurt Dog Bites
- Fridge: Store any leftover Frozen Yogurt Dog Bites in an airtight container for up to 3 days to keep them fresh and tasty for your pup.
- Freezer: For long-term storage, place the bites in a freezer-safe bag or container. They can last up to 2 months without losing flavor.
- Thawing: When ready to serve, simply remove the desired amount from the freezer and let them thaw at room temperature for about 15 minutes before giving them to your dog.
- Avoid Refreezing: Once thawed, do not refreeze the Frozen Yogurt Dog Bites as this can impact their texture and taste.
Frozen Yogurt Dog Bites Your Way
Get creative with these delightful treats and make them perfectly suited for your pup’s taste buds!
- Dairy-Free: Substitute yogurt with coconut yogurt for a creamy, dairy-free alternative. Your furry friend will still enjoy a refreshing treat without the lactose.
- Nut-Free: Use sunflower seed butter instead of peanut butter to accommodate pups with nut allergies. This swap keeps the flavors rich while ensuring every dog can indulge safely.
- Fruity Twist: Mix in 1/4 cup of pureed pumpkin or sweet potato for added vitamins and a different flavor profile. This twist not only enhances nutrition but also adds a fall-inspired taste that pups love.
- Berry Burst: Add 1/4 cup of mashed strawberries or blueberries for a fruity explosion. This variation offers antioxidants and a colorful surprise that will have tails wagging in excitement.
- Crunchy Texture: Fold in 1/4 cup of finely chopped carrots for a delightful crunch. Not only does this add texture, but it also provides extra fiber for your pup’s diet.
- Chill Factor: Freeze the mixture in fun silicone molds shaped like bones or paws for an adorable presentation. These charming shapes make treat time feel extra special!
- Sweet Surprise: Drizzle honey on top (for dogs over one year old) before freezing for a touch of sweetness. Just remember, moderation is key to keep your canine companion healthy!
Make Ahead Options
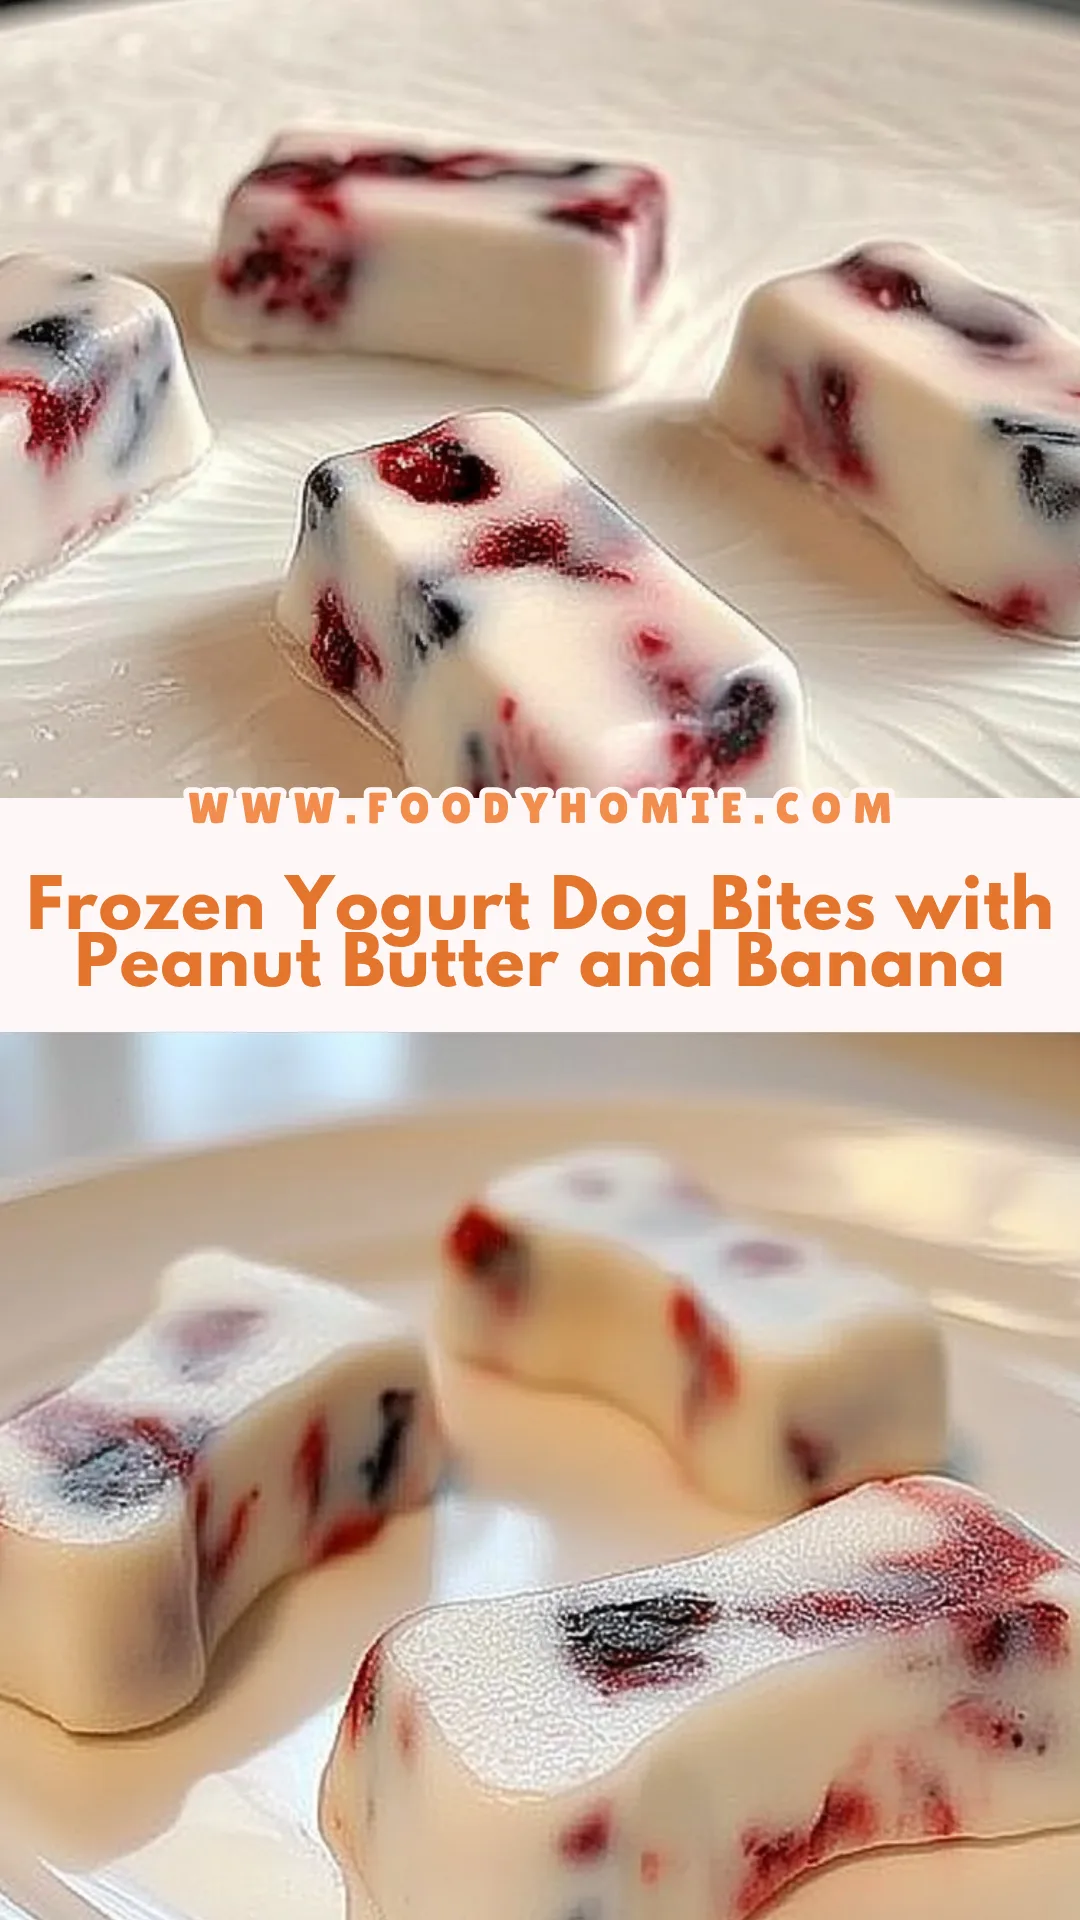
Preparing Frozen Yogurt Dog Bites in advance is a breeze and perfect for busy pet parents looking to keep their furry friends happy and healthy. You can easily mash the ripe banana and mix it with 1 cup of plain yogurt and 1/4 cup of natural peanut butter up to 24 hours ahead of time. Simply combine these base ingredients in a mixing bowl until smooth, spoon the mixture into an ice cube tray, and freeze for at least 4 hours or until solid. Once frozen, pop the bites out and store them in an airtight container in the freezer for up to 3 months. When you’re ready to serve, just grab a few bites, let them thaw for a minute, and watch your pup enjoy this refreshing treat! By prepping ahead, you save time while ensuring your dog has a nutritious snack always on hand.
Frozen Yogurt Dog Bites Questions Answered
What type of yogurt should I use for the Frozen Yogurt Dog Bites?
It’s best to use plain, unsweetened, and unflavored yogurt for this recipe. Greek yogurt is a great option as it’s thicker and creamier, providing a delightful texture that your dog will love. Just make sure it doesn’t contain any added sugars or artificial flavors.
Can I substitute the peanut butter with something else?
Absolutely! If your furry friend has a peanut allergy, you can swap in natural almond butter or sunflower seed butter. Just ensure whatever alternative you choose is unsweetened and free from any harmful additives like xylitol, which is toxic to dogs.
How long can I store the Frozen Yogurt Dog Bites?
Once you’ve made these tasty treats, they can be stored in an airtight container in the freezer for up to 2 months. However, they are best enjoyed within the first month for optimal freshness and flavor. Just remember to label the container with the date so you know when they were made!
What if my mixture is too runny?
If you find that your mixture is too runny, try adding a bit more yogurt to thicken it up. Alternatively, you could freeze it for a shorter time until it firms up slightly before pouring into the ice cube tray. The consistency should be smooth yet thick enough to hold its shape when frozen.
How many Frozen Yogurt Dog Bites can I give my dog at once?
These treats are about 30 calories each, making them a healthy snack option! Depending on your dog’s size and dietary needs, start with just one or two bites as a treat and adjust based on their reaction and overall diet. Moderation is key!
Can I use other fruits besides banana?
Certainly! While bananas add natural sweetness and creaminess, feel free to experiment with other dog-safe fruits like blueberries or strawberries. Just make sure any fruit you choose is ripe and safe for canine consumption, and chop them into smaller pieces if necessary before mixing!