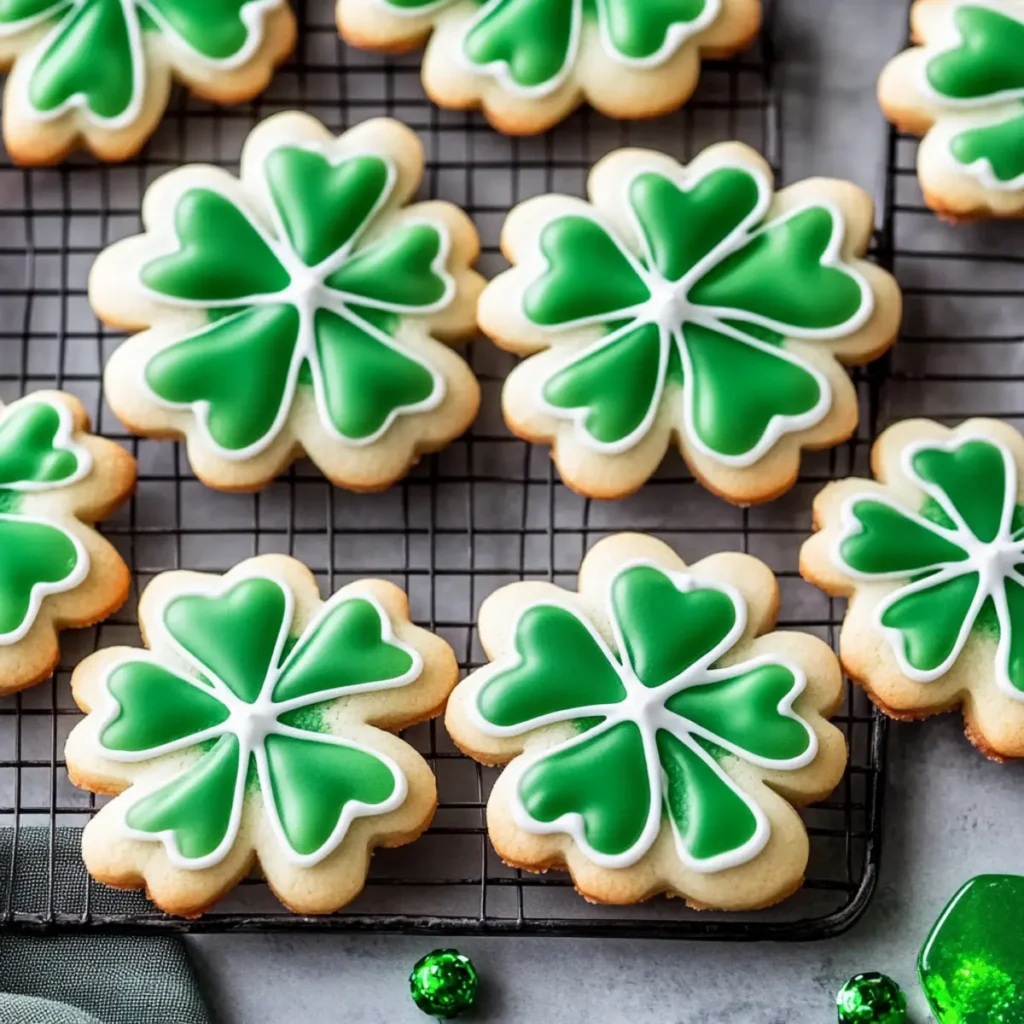
St. Patrick’s Day is just around the corner, and what better way to celebrate than with a batch of joyful St. Patrick’s Day Shamrock Cookies? Picture this: warm, whimsical cookies adorned with vibrant green icing, bringing a splash of cheer to those lucky enough to get their hands on them. These delightful treats are sure to be a hit at any festive gathering, filling the air with sweet aromas and creating heartwarming memories.
If you’re anything like me, you’ll fondly recall the days of childhood, surrounded by family and the excitement of holidays. For me, St. Patrick’s Day was not just about wearing green, but rather about indulging in mouthwatering sweets that sparked joy and laughter. This recipe for St. Patrick’s Day Shamrock Cookies captures that spirit and elevates it – you’ll find it perfect not only for the holiday but for baking with friends, family gatherings, or simply for treating yourself to something special. Let’s get started, and soon, your kitchen will be filled with the sweet smell of cookie magic!
Why You'll Love This St. Patrick's Day Shamrock Cookies
- This incredible St.
- Patrick’s Day Shamrock Cookies transforms simple everyday ingredients into restaurant-quality flavors that will blow your mind completely.
- Foolproof recipe techniques guarantee perfect results every single time, making even novice cooks feel like professional chefs instantly.
- Stunning visual appeal with gorgeous colors and mouthwatering aromas creates the ultimate Instagram-worthy dish for any special occasion.
- Endlessly adaptable for different dietary needs while working beautifully for meal prep, date nights, or entertaining large groups effortlessly.
Ingredients for St. Patrick’s Day Shamrock Cookies
Here’s what you’ll need to make this delicious St. Patrick’s Day Shamrock Cookies:
2 1/2 cups all-purpose flour – sifted to help create a light texture, making it easier to mix without clumps.
1 teaspoon baking powder – helps the cookies rise to create a delightful puffy shape.
1/2 teaspoon baking soda – ensures a tender crumb and enhances the texture.
1 cup unsalted butter – softened to room temperature for easy mixing, providing richness to each bite.
1 cup granulated sugar – contributes sweetness and helps achieve that lovely golden color.
1 large egg – binds all the ingredients together while adding moisture.
2 teaspoons vanilla extract – a classic flavor that enhances the sweetness remarkably.
1 teaspoon almond extract – adds a nutty complexity to the cookies that is both unique and delicious.
2 cups powdered sugar – essential for the icing that gives these cookies their charming look.
3 tablespoons milk – helps reach the perfect consistency for the icing.
1/4 teaspoon green food coloring – because who can resist making these cookies as green as a leprechaun’s hat?
How to Make St. Patrick’s Day Shamrock Cookies
Follow these simple steps to prepare this delicious St. Patrick’s Day Shamrock Cookies:
Step 1: Preheat the Oven
Begin by preheating your oven to 350°F (175°C). A well-preheated oven is key to achieving those perfectly baked cookies that have a slight crunch on the outside with a soft, chewy center.
Step 2: Mix the Dry Ingredients
In a medium bowl, combine the sifted flour, baking powder, and baking soda. Stir these together until thoroughly combined. This step is crucial to ensure that everything rises beautifully when baking.
Step 3: Cream the Butter and Sugar
In a separate large bowl, cream the softened unsalted butter and granulated sugar together until the mixture is light and fluffy. This magical stage is where the air gets incorporated, and flavors start to meld beautifully.
Step 4: Combine Wet Ingredients
Add the egg, vanilla extract, and almond extract to the butter-sugar mixture. Mix well until all ingredients are harmonious and you’re enveloped in a delightful scent that foreshadows the deliciousness to come.
Step 5: Blend Dry and Wet Ingredients
Gradually add your dry mixture to the wet mixture, stirring just until both are barely combined. Don’t overmix – we want our cookies to have that amazing tender texture!
Step 6: Prepare the Icing
In a medium bowl, mix together the powdered sugar, milk, and green food coloring. Stir until the mixture reaches a smooth and somewhat pourable consistency, perfect for decorating your cookies.
Step 7: Shape and Bake
Using a tablespoon, drop rounded scoops of dough onto a baking sheet lined with parchment paper. Leave a little space between each cookie because they will spread during baking. Pop the tray into your oven and bake for 10 minutes or until the edges are lightly golden.
Step 8: Cool and Decorate
Let the cookies cool on the baking sheet before transferring them to wire racks. Once cool, drizzle or spread the vibrant green icing over each cookie. You can even get creative by sprinkles or other decorations to elevate the look!
These St. Patrick’s Day Shamrock Cookies make for a delightful treat, perfect for sharing with family and friends or enjoying all to yourself. Arrange them on a colorful platter, and watch them disappear faster than you can say “Erin go Bragh!” So happy baking, and may your day be as sweet as these cookies!

You Must Know About St. Patrick's Day Shamrock Cookies
- This showstopping St.
- Patrick’s Day Shamrock Cookies delivers restaurant-quality results using simple ingredients you probably already have at home.
- The perfect balance of textures and flavors creates an unforgettable dining experience that will have everyone asking for seconds.
- Picture-perfect presentation with vibrant colors makes this dish absolutely Instagram-worthy and guaranteed to impress any dinner guest.
- Incredibly versatile recipe that works beautifully for weeknight dinners, meal prep, special occasions, or even outdoor entertaining sessions.
Perfecting St. Patrick’s Day Shamrock Cookies Cooking Process
The secret to nailing these St. Patrick’s Day Shamrock Cookies is to mix the dry ingredients first, then cream the butter and sugar. Once your wet ingredients are blended, gradually combine everything until just smooth, ensuring a light and fluffy texture in every bite.
Add Your Touch to St. Patrick’s Day Shamrock Cookies
Feel free to personalize your St. Patrick’s Day Shamrock Cookies by swapping almond extract for mint extract for a fresh twist. Alternatively, sprinkle in some chocolate chips or crushed nuts for extra texture and flavor to make each cookie uniquely yours.
Storing & Reheating St. Patrick’s Day Shamrock Cookies
To ensure your St. Patrick’s Day Shamrock Cookies stay fresh, store them in an airtight container at room temperature for up to a week. For a quick fix, pop them in the microwave for 10 seconds to revive their soft, chewy goodness.
Chef's Helpful Tips for St. Patrick's Day Shamrock Cookies
- This professional-quality St.
- Patrick’s Day Shamrock Cookies relies on precise timing and temperature control to achieve restaurant-standard results consistently.
- Master the art of mise en place by prepping all ingredients beforehand, ensuring smooth execution and preventing any last-minute cooking disasters.
- The secret lies in layering flavors throughout the cooking process rather than seasoning only at the end for maximum depth.
- Pro tip: let the finished dish rest for optimal texture and flavor development before serving to hungry guests waiting eagerly.
Creating these cookies reminds me of the first time I made them for family. Their delighted expressions when tasting them brought such joy, prompting requests for more every St. Patrick’s Day since.
FAQs About St. Patrick’s Day Shamrock Cookies
What is St. Patrick’s Day Shamrock Cookies?
St. Patrick’s Day Shamrock Cookies are delightful, festive treats characterized by their vibrant green color and playful shamrock shape. These cookies are made with simple ingredients like all-purpose flour, butter, and sugar, creating a soft and buttery texture. Enhanced with both vanilla and almond extracts, they offer a unique flavor profile that makes them a favorite for celebrating St. Patrick’s Day. Ideal for any gathering, these cookies are deliciously sweet and beautifully decorated, making them both a treat for the taste buds and the eyes.
How do I decorate St. Patrick’s Day Shamrock Cookies?
Decorating St. Patrick’s Day Shamrock Cookies is a fun and creative process! Once your cookies have cooled, you can whip up a simple green icing using powdered sugar, milk, and a touch of green food coloring. Use piping bags or plastic squeeze bottles to create intricate designs. Add sprinkles, edible glitter, or even small shamrock candies for that extra festive touch. These cookies are not only tasty but also a canvas for your artistic flair, making them perfect for enhancing any St. Patrick’s Day celebration.
Can I make St. Patrick’s Day Shamrock Cookies in advance?
Absolutely! St. Patrick’s Day Shamrock Cookies can be made ahead of time, which is great for planning celebrations. Once baked and cooled, store them in an airtight container at room temperature for up to a week. If you’d like to keep them longer, consider freezing them. Simply place the cookies in a single layer in a freezer-safe bag, and they can last up to three months. Thaw them overnight in the fridge before decorating and serving, ensuring they taste fresh and delightful.
What is the best way to store St. Patrick’s Day Shamrock Cookies?
To keep your St. Patrick’s Day Shamrock Cookies fresh, store them in an airtight container at room temperature. This method prevents them from becoming stale and helps maintain their optimal texture. If you live in a particularly humid climate, consider layering the cookies with parchment paper to prevent them from sticking together. For long-term storage, freeze the cookies, allowing you to enjoy their deliciousness well after the holiday has passed. This approach ensures you always have a treat on hand for any occasion.
Conclusion for St. Patrick’s Day Shamrock Cookies
In conclusion, St. Patrick’s Day Shamrock Cookies are a delightful addition to any festive celebration. Their vibrant color, fun shape, and delicious flavor make them irresistible for both kids and adults alike. Whether you choose to decorate them creatively or keep it simple, these cookies will surely be a hit. With straightforward ingredients and easy preparation, you can whip up a batch in no time. Celebrate your St. Patrick’s Day in style with these charming treats, creating memorable moments around the table.

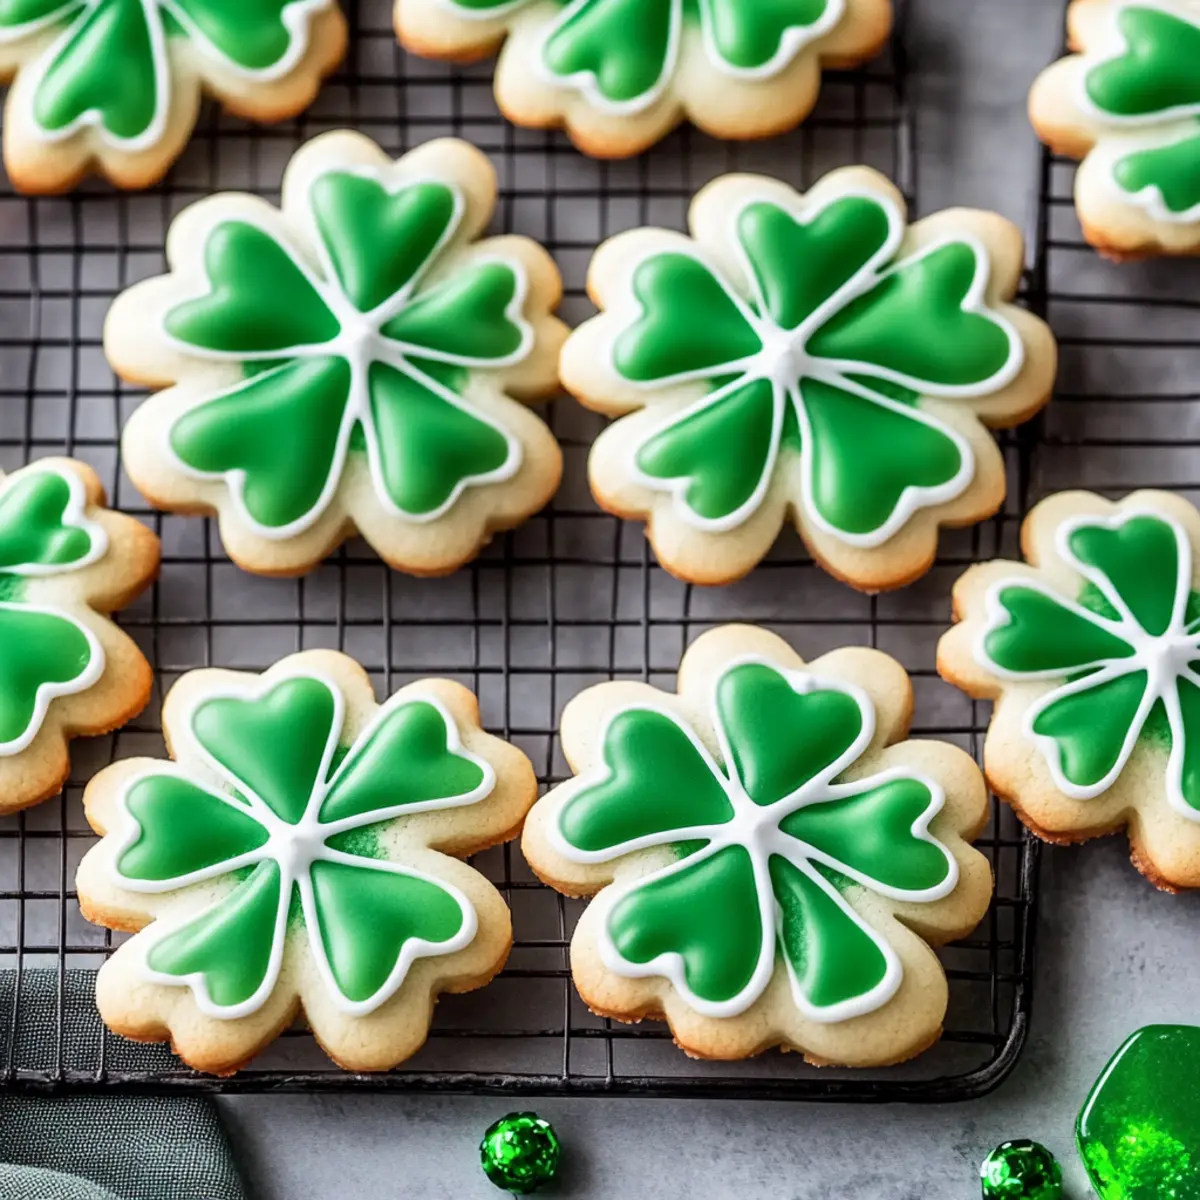
St. Patrick's Day Shamrock Cookies
Ingredients
Equipment
Method
- Preheat the oven to 350°F (175°C).
- In a bowl, mix together the flour, baking powder, and baking soda.
- In a separate bowl, cream the softened butter and granulated sugar until light and fluffy.
- Add the egg, vanilla extract, and almond extract to the butter mixture, and mix until well combined.
- Gradually add the dry ingredient mixture to the wet ingredients, mixing until just combined.
- Stir in the powdered sugar, milk, and green food coloring until the desired consistency is reached.
- Drop rounded tablespoons of dough onto a baking sheet lined with parchment paper.
- Bake for 10 minutes or until the edges are lightly golden.
- Allow cookies to cool before serving.